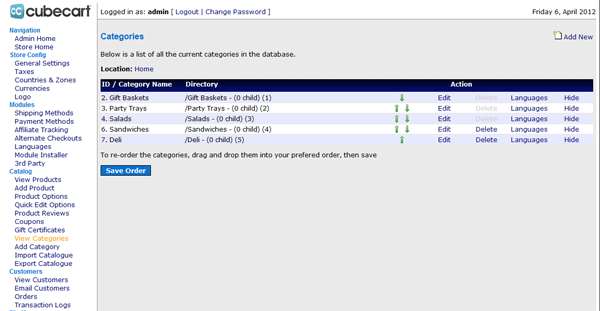
Before you start making categories of your products in Cubecart, take time to really plan out the order in which you want it to display. The navigation in Cubecart is based on your categories, so setting up your categories properly is an important step, that sometimes gets over looked.
Not all products need to be top level products. A good rule of thumb is to display all your products list before the cut off of the screen. So make sure you try to narrow down your top level categories.
Also make sure all your sub level categories actually fit logically with the top level ones. So for example if your top level category was clothes, the sub levels should be pants and shirts and not hotdogs.
Once you have it all laid out, go to the admin section of your Cubecart, on the left side about half way down there is a Add Category link, click that link. From there you simply fill out all the information about it, you can even add a picture for the category, which will display on the category page.
Once all the information is filled out, take notice of the category level drop down in the middle of the page. Select if this is a top level category or if it belongs under a sub category, like pants would go under clothes.
You will have to do this for all your categories, it does take time and becomes tedious but with proper thinking it keeps everything clean and organized. Another feature with Cubecart, if you already have another shopping cart, you can export the categories from that cart into your Cubecart site.
Be careful on this feature, not all carts are alike, and you may not get the desired results you are looking for. Most likely you will have to adjust the data to fit the Cubecart format.

Comments are closed.